FDK HOME
WELCOME TO THE FUN DUBBIN KRIMINALS FORUM.............COME ON IN AND SAY HELLO smile

PLEASE REGISTER TO ACCESS THE CHAT FORUM

Join the forum, it's quick and easy

FDK HOME
WELCOME TO THE FUN DUBBIN KRIMINALS FORUM.............COME ON IN AND SAY HELLO smile

PLEASE REGISTER TO ACCESS THE CHAT FORUM
FDK HOME
Would you like to react to this message? Create an account in a few clicks or log in to continue.

fdk and www.roastietoastie.com

MERRY FUCKIN XMAS FDK MO FO'S

You are not connected. Please login or register

1969..US import Karmann Ghia resto

+8
My left Knacker
Space Monkey
69Busboy
dicky mint
Toastie
paddy
Stereophoney
Mario
12 posters

Go to page : Previous  1, 2, 3, 4  Next

Go down  Message [Page 2 of 4]

Toastie

Toastie
modmin

you will get a good job at waynes

My left Knacker

My left Knacker

Yeah, they seem to know their stuff unlike me who know's chuff all about cars other than how to buy them, I'm looking forward to getting it sorted as it is a very nice car and it puts a huge smile on my face, then so does wind!

oilyT

oilyT

What size compressor did you use in the end Mario? smile

Mario

Mario
moderator

oilyT wrote:What size compressor did you use in the end Mario? smile

i ended up getting a big 14cfm big jobby from machine mart mate.... Very Happy

oilyT

oilyT

I've just picked up on of these today at a bargain price.

http://www.eurocarparts.com/ecp/p/tools/air-tools-compressor/compressors1/direct-compressors/?SEASA9910/3&0&t5_150
fits the corner of the shed perfectly. smile

Mario

Mario
moderator

looks perfect for a workshop.....i had to put mine in one of those metal sheds and run my hoses thru the walls....

looking at that price,i hope yours was a bargain price :eek: Very Happy

oilyT

oilyT

Mario wrote:looking at that price,i hope yours was a bargain price :eek: Very Happy

Oh yes wink . being upright it sits in the corner perfectly. just need a new plastic cooling fan fitting smile

Mario

Mario
moderator

right then time to bring this puppy right up to date.......being as my MOT is booked for TOMORROW morning at 8 am :eek:
 
 
So,lots to update,to save you being bored i shall just skim over the details....
 
took 4 MONTHS to get my primer n paint on...it was a nightmare !!!!!!!!!!! but for a first timer she ended up not too bad.....
 
I had major problems with electrics as i had to start from scratch in some areas......
 
 
i am copying over from my thread on VZI..........enjoy......


now folk always say when it comes to painting its down to the.....prep prep prep prep prep........well i found out what they meant when i added my black guide coat.......oh fucking hell did i!!!
 
This is how she looked after the etch primer and 1st coat of high build was added.......1969..US import Karmann Ghia resto - Page 2 2012-11-24150239
 
and then after applying the guide coat and dry sanding with 400 grade.......
1969..US import Karmann Ghia resto - Page 2 2012-11-25115733
 
and then......the photo's that knocked me sideways a bit.....
1969..US import Karmann Ghia resto - Page 2 2012-11-25115744
you can see the erm "imperfections" i had to deal with:o
1969..US import Karmann Ghia resto - Page 2 2012-11-25123304
1969..US import Karmann Ghia resto - Page 2 2012-11-25133319
1969..US import Karmann Ghia resto - Page 2 2012-11-25123256
This next pic is my main problem area on the car.......the wing looks as tho it has rippled over the years......maybe a few dents too.....
ive filled a very small portion,ie the small dent you can see...how ever the rest of it ive decided to leave due to the fact it would take a freat deal of filller to get this area smooth n flat...i am not prepared to load the ol girl with filler for the hell of it,so it will stay as it is to remind me of her age......
1969..US import Karmann Ghia resto - Page 2 2012-11-25133333
 
This next pic shows the difference after flatting back.......
1969..US import Karmann Ghia resto - Page 2 2012-11-25133411

Mario

Mario
moderator

Just quickly been out and taken the following pics.....
so,we are now up to date ...as in these are with the 3rd coat of high build.....
the car just needs wiping down to clean her up....
ive tried to take the same pics as above^^^^^^^ so you can see the difference........

1969..US import Karmann Ghia resto - Page 2 2012-12-15165604
1969..US import Karmann Ghia resto - Page 2 2012-12-15165734
1969..US import Karmann Ghia resto - Page 2 2012-12-15165642
1969..US import Karmann Ghia resto - Page 2 2012-12-15165651
and a slightly different one....
1969..US import Karmann Ghia resto - Page 2 2012-12-15165710


ive just the roof and front clip to flat back and then go thru the whole process again:crazy:Very Happy

Mario

Mario
moderator

So,i finished nights this mornin so grabbed a few hours kip and then decided to go try out my paint guru's(metalflakedave) tips......
OPened up the garage got loads of light in there aaaaaand............


1969..US import Karmann Ghia resto - Page 2 2012-12-17145354
1969..US import Karmann Ghia resto - Page 2 2012-12-17145426
1969..US import Karmann Ghia resto - Page 2 2012-12-17145444

1969..US import Karmann Ghia resto - Page 2 2012-12-17145504
1969..US import Karmann Ghia resto - Page 2 2012-12-17145515
1969..US import Karmann Ghia resto - Page 2 2012-12-17145524

The brown pen marks high light areas that need filling....ie, ripples, small dents etc....

Im a bit pissed off really, as i didnt realise i had so many bits.....ive jacked it in for today after applying filler to all these areas.....
Ive worked my nuts off to get to this stage and to be honest,it's a little soul destroying to see how far off my prep/efforts so far have been....
However
there IS a positive to all this(apart from finding them now) and that positive is......pretty much ALL of these areas are NOT areas i have welded in new metal or filled previously....so,from that i am taking the fact that my work IS showing results..ie anything ive welded in and filled IS well finished and un seen....
I will be back on her tomorrow to get the filler sanded and finish off prepping the roof.........
and the weather has turned up here.......no feckin snow or ice!!!!!!

Mario

Mario
moderator

i took delivery of a new toy for her today.........
Moto Lita 15 Inch Mark 3 woodrim steering wheel. Dished spokes with thin slots.
1969..US import Karmann Ghia resto - Page 2 15Motolita

Very Happy

Mario

Mario
moderator

So, where was I ?.....................oh yeh sanding:D
Got the old filler into the areas that needed it......and got back to sanding it all back............
I must say i can see a good bit of difference in the areas now......

The following pics show the filler AFTER ive sanded it back....
Brown dots mean a light skim of filler is required.....solid brown circle means it needs a proper fill rather than light skim......

1969..US import Karmann Ghia resto - Page 2 2012-12-30102109
1969..US import Karmann Ghia resto - Page 2 2012-12-30102053
1969..US import Karmann Ghia resto - Page 2 2012-12-30102032
1969..US import Karmann Ghia resto - Page 2 2012-12-30102130
1969..US import Karmann Ghia resto - Page 2 2012-12-30102120
1969..US import Karmann Ghia resto - Page 2 2012-12-30102044
Just noticed this pic^^^^^^^^^^^^ shows a fairly large low spot on the lip area of the wing................it aint there any more cos ive filled n sanded it................

1969..US import Karmann Ghia resto - Page 2 2012-12-30102218

The stage im at now is....................ALL filling is done and sanded back..............i have one or two (and i mean one or two) small finishing jobs to do.............i am awaiting delivery of the filler stopper to fill the pock holes and small imperfections........hopefully the stuff will be in this week as im hoping to prime again as i have fri/sat/sun off work..............

Just remembered....those pics up there^^^^^^show some low areas in........i re-filled and sanded them so the pics are actually one stage behind................

Have etch primed and stuck 1 coat of high build and sanded back my removable rear panel............
I am hoping to start on one of my big panels during my days off...possibly the bonnet......i shall see what space i can jig in my garage...
im hoping to get my doors in etch primer and 1 coat of high build too...they can then be hung on the car and checked for gaps and see what filling they will need............

Just had a BIG order into Coolair this week.......sooo, headliner and carpets are on order,plus a few other bits n bobs.....
My seats and door cards should be ready in January too.....
With a bit of luck im hoping to be in colour and have the shell back on the pan towards the end of next month........and then the fun of working out how it all fits together starts....guess i shall be asking loads of questions:lol:

Mario

Mario
moderator

Time to update a little bit more......

Finally got my stopper so i went over any imperfections and then sanded back......
Aplied etch and high build as required and sanded back again....

and...................she is soooooooooooooooooooo close to sticking on that first does of red stuff:D
Pics below show the small amount ive had to re-prime and that is now done..sorry no pics.....
Left rear.......
1969..US import Karmann Ghia resto - Page 2 2013-01-05122656
1969..US import Karmann Ghia resto - Page 2 2013-01-05122704
1969..US import Karmann Ghia resto - Page 2 2013-01-05122713
Right rear....
1969..US import Karmann Ghia resto - Page 2 2013-01-05122804
Left front...
1969..US import Karmann Ghia resto - Page 2 2013-01-05122726

Right front....
1969..US import Karmann Ghia resto - Page 2 2013-01-05122752
And the nose...
1969..US import Karmann Ghia resto - Page 2 2013-01-05122739

Hopefully tomorrow afternoon i will be able to stick the first guide coat of red on........
This will then show me (i think) how good or bad the shell is....
My mrs is chomping at the bit to see it in colour.....i think this is just so she can do her bit and find all the faults:lol:

Hopefully next update will show some.............[SIZE="4"]COLOUR[/SIZE]Very Happy

NOTE.......brown pen marks highlight areas needing re-primed.


EDIT............i forgot to say.....................i am now up to 600 grade paper for sanding back........and i am now outta both primers,so i shall be ordering more on monday...............

Mario

Mario
moderator

Just gonna bring this right up to date now,as you will see...
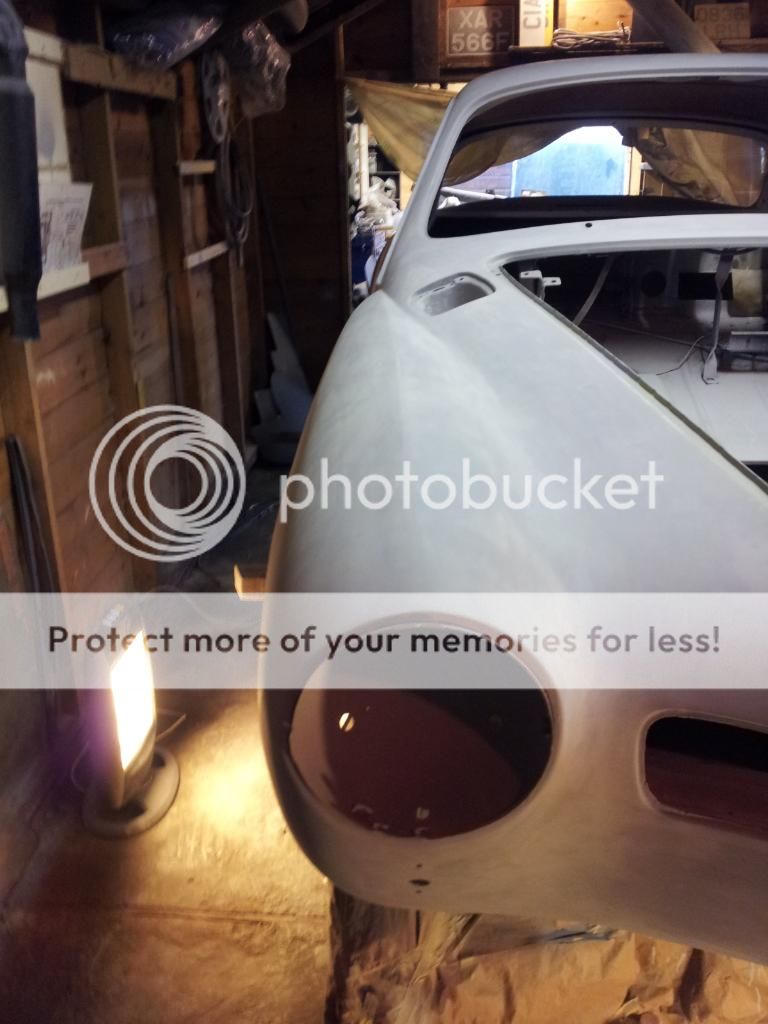
Primer BEFORE paint......

1969..US import Karmann Ghia resto - Page 2 2013-01-06114431
1969..US import Karmann Ghia resto - Page 2 2013-01-06114443
1969..US import Karmann Ghia resto - Page 2 2013-01-06114452
1969..US import Karmann Ghia resto - Page 2 2013-01-06114503
1969..US import Karmann Ghia resto - Page 2 2013-01-06114529

Mario

Mario
moderator

So,it was time to get the ol girl into colour...............
Ive learned a MASSIVE amount to day i will explain further on what i mean....
What i can say is,the colour....Cherry Red.....is LOUDER than i expected WAAAAAAAAAAAAAAY feckin louder!!!!!!!!!!!

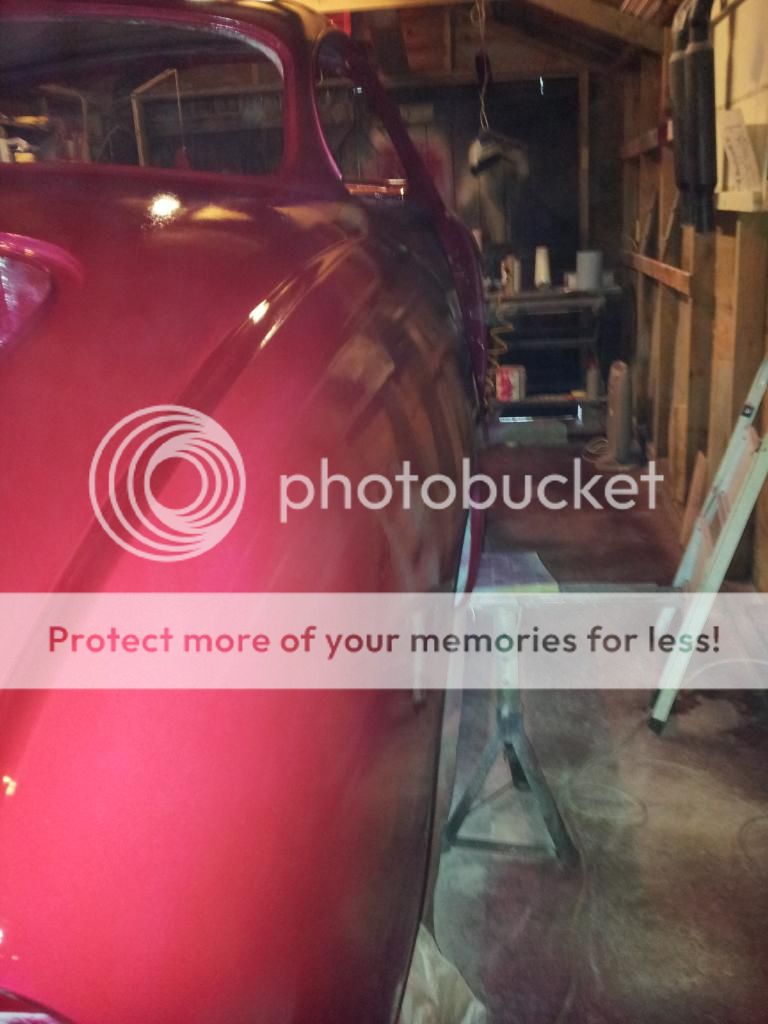
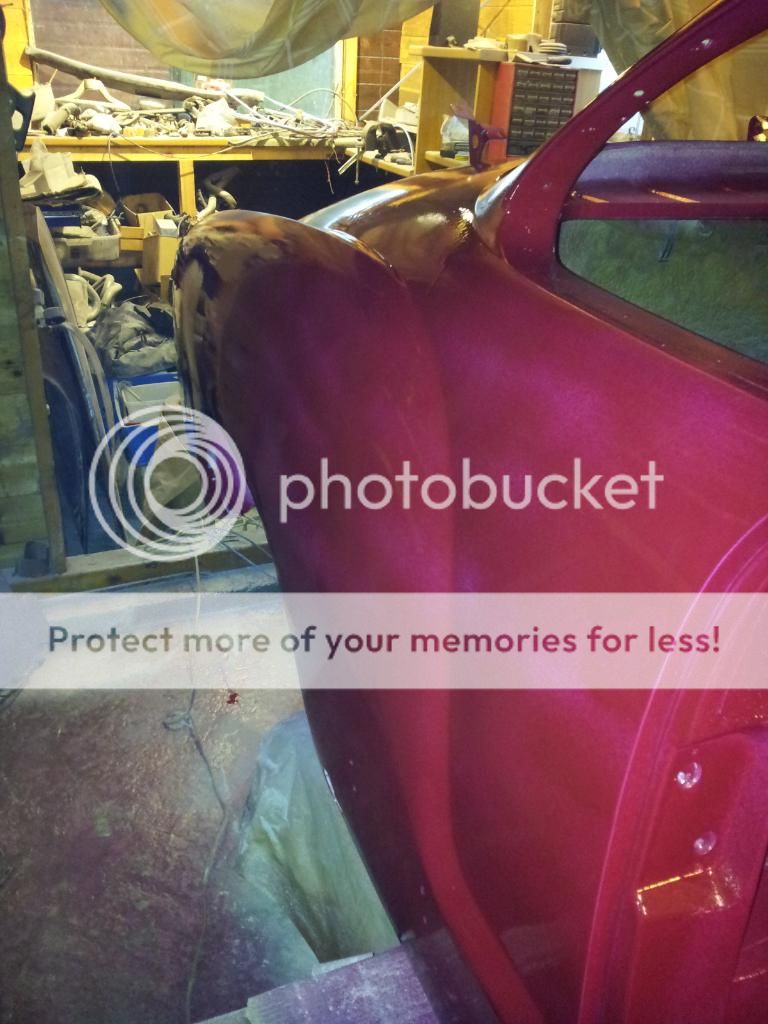
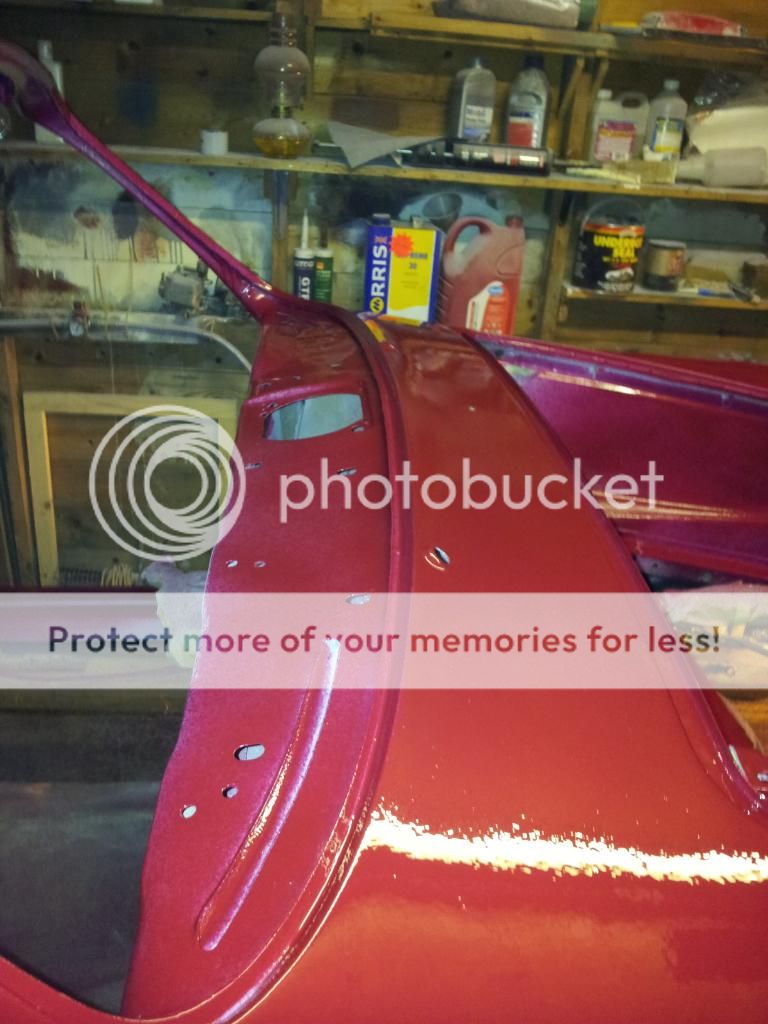
Now,before you all start shouting.......remember this is a first time effort with a brand new and strange gun,so there ARE runs.......lots of em:o................how ever also keep in mind this is just the FIRST coat of colour...........anyways here she is.........
Sunglasses ON..............

1969..US import Karmann Ghia resto - Page 2 2013-01-06132029
1969..US import Karmann Ghia resto - Page 2 2013-01-06132037
1969..US import Karmann Ghia resto - Page 2 2013-01-06132343
1969..US import Karmann Ghia resto - Page 2 2013-01-06132352
1969..US import Karmann Ghia resto - Page 2 2013-01-06132402
1969..US import Karmann Ghia resto - Page 2 2013-01-06132415
1969..US import Karmann Ghia resto - Page 2 2013-01-06132429
1969..US import Karmann Ghia resto - Page 2 2013-01-06132435
1969..US import Karmann Ghia resto - Page 2 2013-01-06132441

Mario

Mario
moderator

1969..US import Karmann Ghia resto - Page 2 2013-01-06132450
1969..US import Karmann Ghia resto - Page 2 2013-01-06132521
1969..US import Karmann Ghia resto - Page 2 2013-01-06132528
1969..US import Karmann Ghia resto - Page 2 2013-01-06132510

Now.....i had some novice problems................the new gun fucked me up...............i couldnt get it set right....but,just as i was gonna give up and throw out the dummy,i managed to suss it out...
So,i now know how the new guns feels....
i know what to look for when spraying...
i know what a quality spray gun feels and sprays like
i HAVE the confidence i can really nail this now after today's efforts..
Yes i have runs...and i have some thin areas....BUT today has been a MASSIVE learning curve giving me confidence and boosting my moral and enthusiasm ................
Please feel free to give your thoughts............i can only learn more from them............

Still a long long way to go,but, i DO feel as tho ive turned a BIG corner today...............

Mario

Mario
moderator

So,it's been a while now (2 days) and ive been missing my sanding block,so i got into the colour sanding.........
And jeesh, the paint is feckin hard to sand:eek:

Started on the front.......
Some areas  you will see are shiny still,ive not yet sanded these areas..
some areas you will see where the runs were..........:o  these are now smooth as a baby's butt......
And ive also shown a pic that shows little speckle areas...or low areas ive to re-do....
Right side nostril area.........
1969..US import Karmann Ghia resto - Page 2 2013-01-08160003
close up of just above this^^^^ area.....
1969..US import Karmann Ghia resto - Page 2 2013-01-08160013
Right front wing....
1969..US import Karmann Ghia resto - Page 2 2013-01-08160025

Left nostril area.........
1969..US import Karmann Ghia resto - Page 2 2013-01-08160036
Left front wing.......only done approx 2/3's of this.....
1969..US import Karmann Ghia resto - Page 2 2013-01-08160051

Been wet flatting using 600 to start with,but,the paint is sooo feckin hard,which shocked me.....so ive dropped down to 400  on areas with runs......

Having checked the car over i have the following thoughts on my first attempt at spraying a car in a garage............

Certain areas of the shell have come really REALLY nicely...smooth flat paint with no runs.....
Where all my runs appear (or i should say,the majority) on areas where i am struggling for space,due to the size o me garage.....i will be concentrating harder in future......

I have very little over spray and i mean very little......the home made extraction system is working well...

Ive decided im gonna use my "inside" areas for practice and they will  get sprayed next........
"inside" areas equal ........engine bay.............inside of car.....fuel tank area................and the one we all forgot to spot...inside my arches...........
I cannot get over how enthused i am with this now...i am REALLy enjoying the challenge and cant enough right now (dont ask me that after a week or so of colour sanding tho:D)
As always folks please feel free to comment and dont be afraid to upset...........you wont upset me......i NEED to learn...so feel free...
right time for a ciggie n cuppa..........
Keep smilin y'all
Mario:D

Mario

Mario
moderator

my pedrinis.................

1969..US import Karmann Ghia resto - Page 2 20130113_133455

A happy chappy i iz................Very Happy:D:D

Mario

Mario
moderator

Been really busy between my shifts sanding/filling/priming and so on...
i didnt think it worth boring you with pics of the same colour grey so i thought i would just have a little change and show you some different pics.................
as in some with some........................COLOUR in them !!!!!!!!!!!


sooooooo,here ya go bang up to date as of about an hour ago.....
Excuse the crappy pics...but i was still masked up when i toook most of them...............

Removable engine valance.............
1969..US import Karmann Ghia resto - Page 2 2013-01-31105634
1969..US import Karmann Ghia resto - Page 2 2013-01-31105644
fuel flap....
1969..US import Karmann Ghia resto - Page 2 2013-01-31122859

number plate housing(crap pic)
1969..US import Karmann Ghia resto - Page 2 2013-01-31122759

Doors.........
1969..US import Karmann Ghia resto - Page 2 2013-01-31122637
1969..US import Karmann Ghia resto - Page 2 2013-01-31122644

Engine lid..(crap pic)
1969..US import Karmann Ghia resto - Page 2 2013-01-31122853

Bonnet......
1969..US import Karmann Ghia resto - Page 2 2013-01-31122742


Being as i am so limited for space i had to paint one side of each panel...let it go off......and then flip and paint the other side......

I am chuffed to bits with this so far....i have NO runs:D.........and am REALLY liking the colour now...............just got some finishing off work to do on the shell and then i go for the 2nd coat of paint on the shell next week sometime.......
Tis all coming together now..........and altho it has been a massive learning curve and ball ache,i can see all the effort has been worthwhile...................so yet again i have to Thank metalflakedave for his consistant advice...................i know now the car would have looked a bag of shit if i hadn't followed his advice (and those of you who also chipped in with words of advice,my thanks to you too)

Keep smilin folks

Mario:D

Mario

Mario
moderator

just a small update..................just a couple o pics:D

1969..US import Karmann Ghia resto - Page 2 2013-02-24094734_zps9c914d7e
1969..US import Karmann Ghia resto - Page 2 2013-02-24094744_zps4676582a

Me and the poor Mrs dropped the shell between the two of us:eek:
Poor woman was shitting herself:lol:

illness has stopped play for a wee while so,to bring this bang up to date.....
Do NOT spray a car whilst you are not 100%.....cos you end up doing it again!!!!!!!!!!
Car now has...
1 x coat of etch primer
4 or 5 coats of high build primer...lost count:lol:
3 coats of colour
Just got to colour sand with 1500 grade and start polishing....
and then it is...............full steam ahead with da rebuild:D

right im orf to see if the wife has stopped shaking yet:lol:

Mario

Mario
moderator

Enough of this colour sanding mallarky........:mad:


Let the polish................ see the car Very Happy


1969..US import Karmann Ghia resto - Page 2 2013-03-04115706_zpsf5a7e0b2


It aint perfect and i have imperfections...............however, one thing i can say is.............I did it:D:D:D

Mario

Mario
moderator

So,it's time to start revealing the colour scheme i have decided on for the inside of the car.....

My seats and door cards are already re-trimmed,ive had them sat in my spare bedroom for a few weeks now....
and now ive [S]had enough of[/S] finished with the paint side of things on the shell i started on my dashboard..

My colours are.....
A red chosen as close to the cherry red as poss and an OFF white...
i didnt want white as i thought it would be too much of an in yer face type thing....

I must say i am chuffed with the way it's worked out........i went for faux leather in the end and the off white i chose has an aged/antique look/feel to it,which i likes....

So the dash top.....
started like this.......
1969..US import Karmann Ghia resto - Page 2 2013-02-25152244_zps3d86c164
all cracked n knackered

removed the black vinyl leaving this.......
1969..US import Karmann Ghia resto - Page 2 2013-02-25153013_zpsd8050dd9
i removed all the old foam and used some stuff i had left over from when i owned my splitty....it is sticky on one side and gave me this....
1969..US import Karmann Ghia resto - Page 2 2013-02-26144636_zpse13d32fd


and now to see if YOU lot likes my taste in colour(:eek:)...tough if you dont cos i does:D
1969..US import Karmann Ghia resto - Page 2 2013-02-26144904_zps1aa332e3

and then i started gluing it to the dash top giving me this.....
1969..US import Karmann Ghia resto - Page 2 2013-02-26180100_zps37597dc6
1969..US import Karmann Ghia resto - Page 2 2013-02-26180110_zps3db5358b

and one more small piece which fits underneath the dash
1969..US import Karmann Ghia resto - Page 2 2013-02-26144147_zpsf624311a
1969..US import Karmann Ghia resto - Page 2 2013-02-26180046_zps6f01284c

i am in mid gluing stage of actually doing the dash face....it is going the off-white colour.....will get pics o that later..........
So it will end up.................red dash top........off white dash face.....with the small bits of under dash trim in red......
And yup,my seats etc,follow the same theme..........

As per usual,any comments welcome...good or bad/positive or negative........

Mario

Mario
moderator

And some pics of the dash in progress.....
1969..US import Karmann Ghia resto - Page 2 2013-03-06122549_zps6634b0a8

and to show you the off white versus normal white....
1969..US import Karmann Ghia resto - Page 2 2013-03-06122609_zpsbc7adf2a
and a couple more......
1969..US import Karmann Ghia resto - Page 2 2013-03-06122619_zpsd31c8ae8
1969..US import Karmann Ghia resto - Page 2 2013-03-06122703_zps4147b8be

Mario

Mario
moderator

Glove box lid before.........
1969..US import Karmann Ghia resto - Page 2 2013-02-26144442_zpsb43d96a6

and after.........
1969..US import Karmann Ghia resto - Page 2 2013-03-06132710_zps09ad55c1

And to give you an idea of how the two colours compare against each other,glove box lid on dash top......
1969..US import Karmann Ghia resto - Page 2 2013-03-06132724_zpsd2bb6884

Mario

Mario
moderator

My seats and door cards......................Very Happy:D:D

1969..US import Karmann Ghia resto - Page 2 2013-03-06144041_zps0c4b3844

1969..US import Karmann Ghia resto - Page 2 2013-03-06144100_zps9c8cec10

i made the door cards and then had them trimmed....
Very Happy:D

Sponsored content


Back to top  Message [Page 2 of 4]

Go to page : Previous  1, 2, 3, 4  Next

Permissions in this forum:
You cannot reply to topics in this forum